> ## Documentation Index
> Fetch the complete documentation index at: https://dripart-docs-custom-nodes-sdk-v2-frontend.mintlify.site/llms.txt
> Use this file to discover all available pages before exploring further.
# Luma Text to Image パートナーノード ComfyUI 公式サンプル
> 本ガイドでは、ComfyUI で Luma Text to Image パートナーノードを使用する方法について説明します
Luma テキストから画像へノードは、Luma AI の高度な機能を使用してテキストプロンプトから高品質な画像を生成することができ、写真のようにリアルなコンテンツや芸術的なスタイルの画像を作成できます。
## Luma テキストから画像へが得意なこと
* **高品質なテキストから画像への生成**: テキストプロンプトから写実的なコンテンツや芸術的なスタイルの画像を生成します
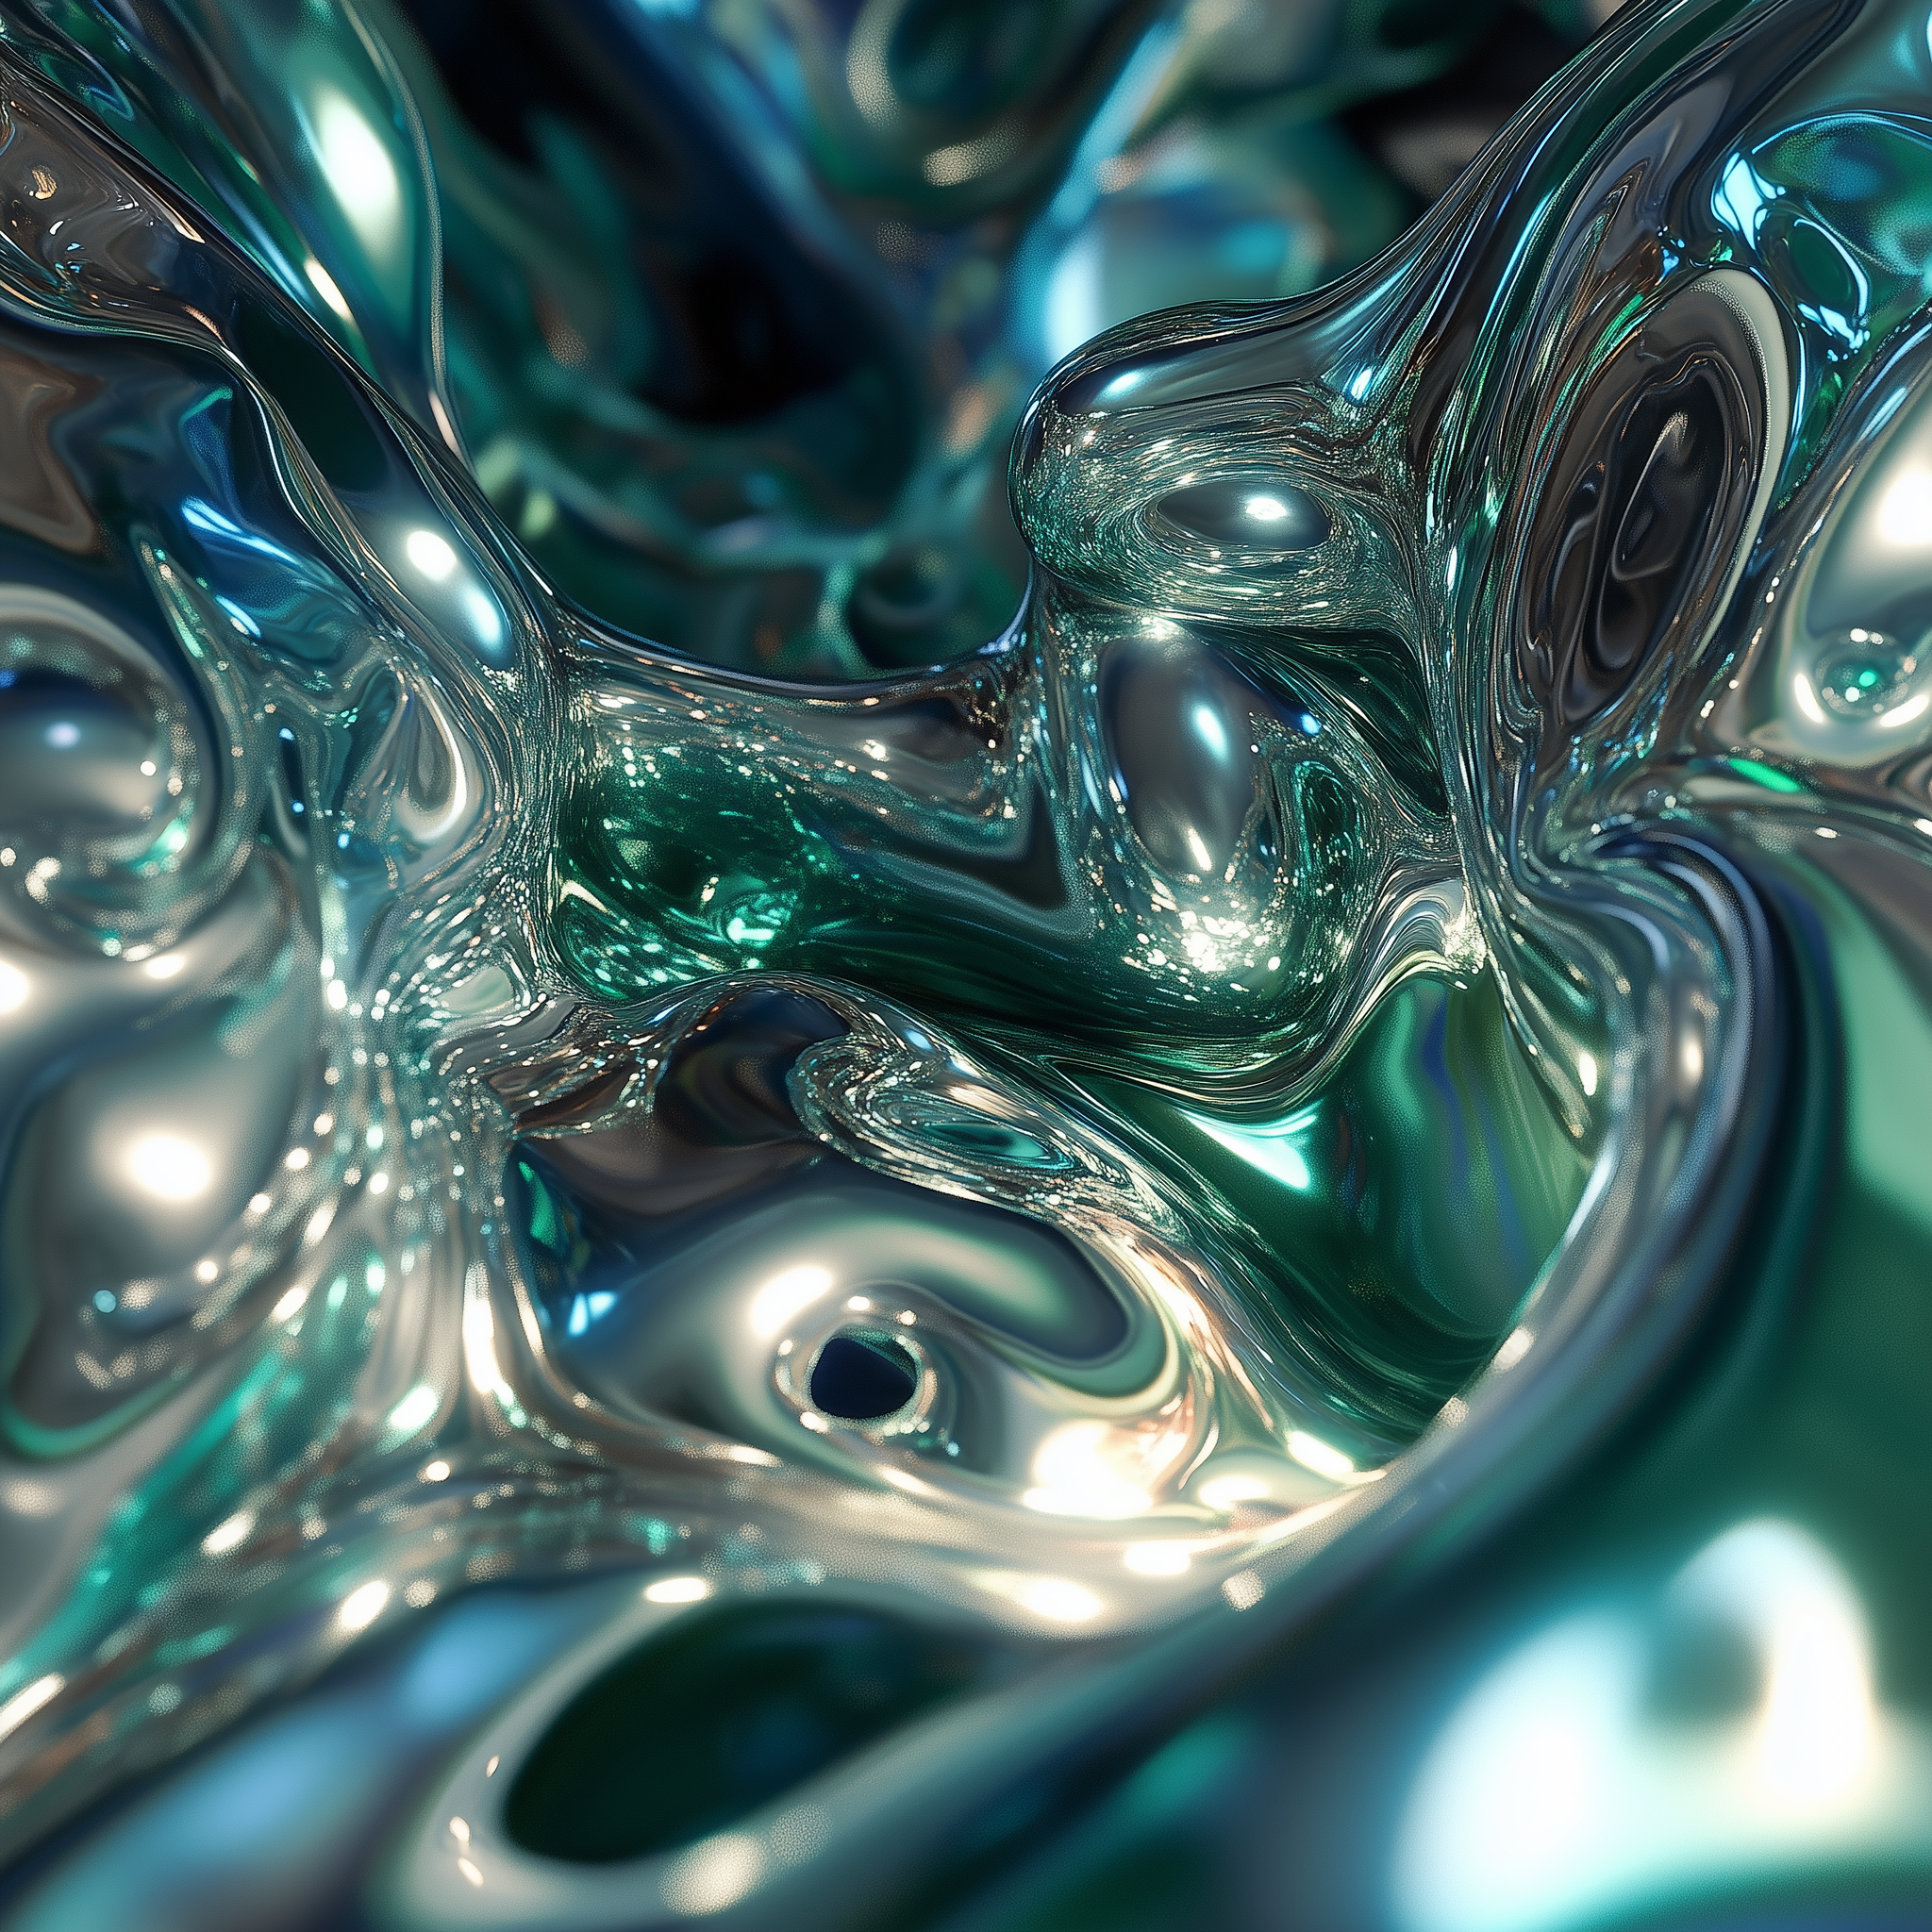
* **スタイル参照**: `style_image` 入力が結果の見た目をガイドし、`style_image_weight` がスタイル参照画像の影響を制御します
* **画像とキャラクター参照**: `image_luma_ref` 入力は参照ガイド付き生成をサポートし、最大4枚の参照画像とキャラクター参照を同時に使用できます
## 出力例
異なる `style_image_weight` 値でのスタイル参照生成。スタイル参照画像の影響を示しています:
 APIノードを使用するには、正しくログインしていることと、許可されたネットワーク環境で使用していることを確認する必要があります。APIノードの使用に必要な具体的な要件については、ドキュメントの「[APIノードの概要](/ja/tutorials/partner-nodes/overview)」セクションをご参照ください。
ComfyUI が最新版に更新されていることを確認してください。
* [ComfyUI のダウンロード](https://www.comfy.org/download)
* [更新手順](/ja/installation/update_comfyui)
このガイドで紹介するワークフローは、[ワークフローテンプレート](/ja/interface/features/template)から入手できます。
テンプレート内に該当のワークフローが見つからない場合、ComfyUI のバージョンが古くなっている可能性があります。
ワークフローを読み込んだ際にノードが欠落している場合の考えられる原因:
1. 最新の ComfyUI(Nightly 版)を使用していない
2. 起動時に一部のノードのインポートに失敗している
* [Cloud](https://cloud.comfy.org) は、ComfyUI の安定版リリース後に更新されます。
したがって、このドキュメントでコアノードが見つからない場合、それは新しいコアノードがまだ最新の安定版にリリースされていない可能性があります。次回の安定版リリースをお待ちください。
## Luma Text to Image パートナーノードのワークフロー
When the `Luma Text to Image` node is used without any image inputs, it functions as a text-to-image workflow. In this guide, we've created examples using `style_image` and `image_luma_ref` to showcase Luma AI's excellent image processing capabilities.
### 1. ワークフローファイルのダウンロード
ワークフロー情報は下の画像のメタデータに含まれています。画像をダウンロードして ComfyUI にドラッグ&ドロップすると、ワークフローが読み込まれます。
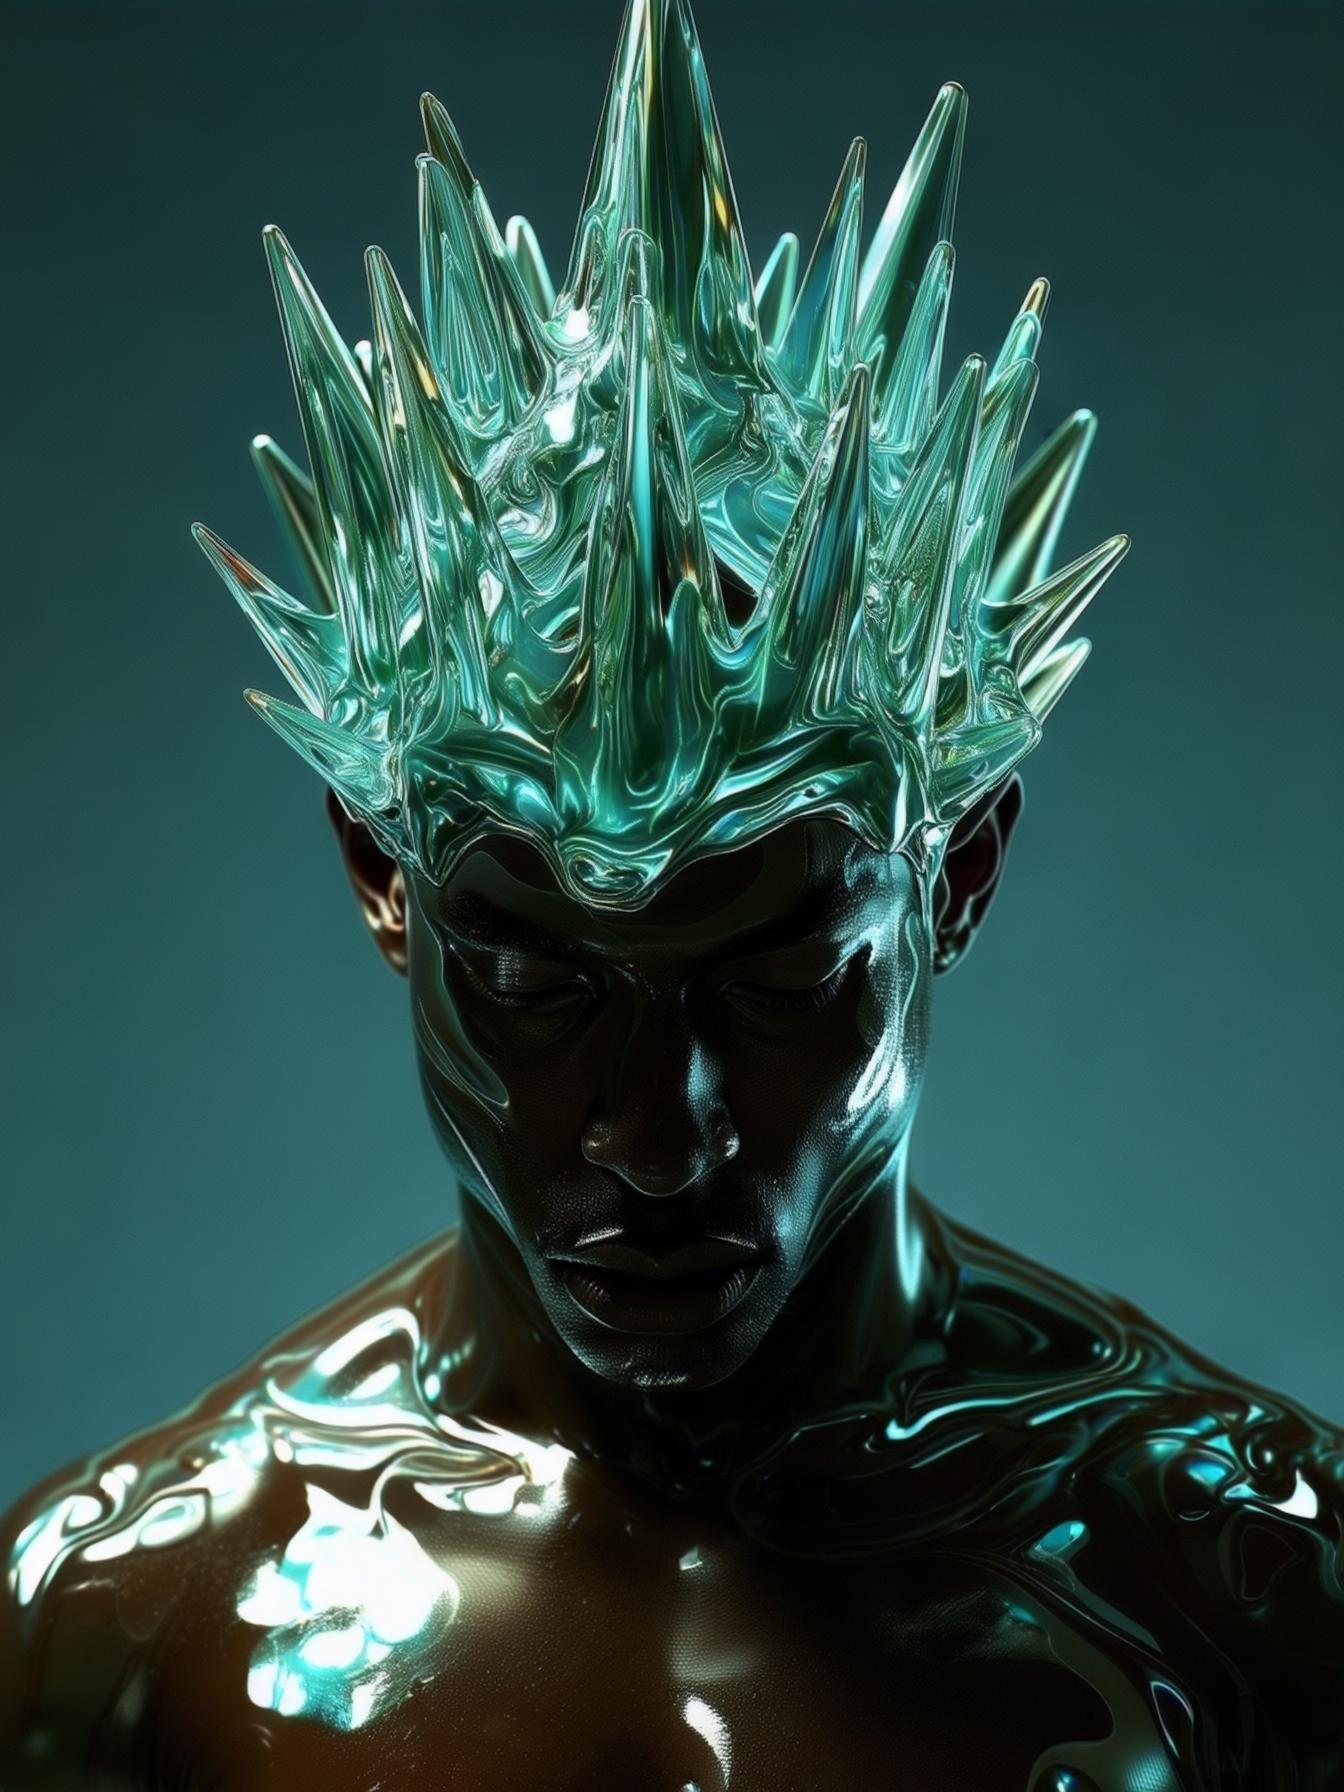
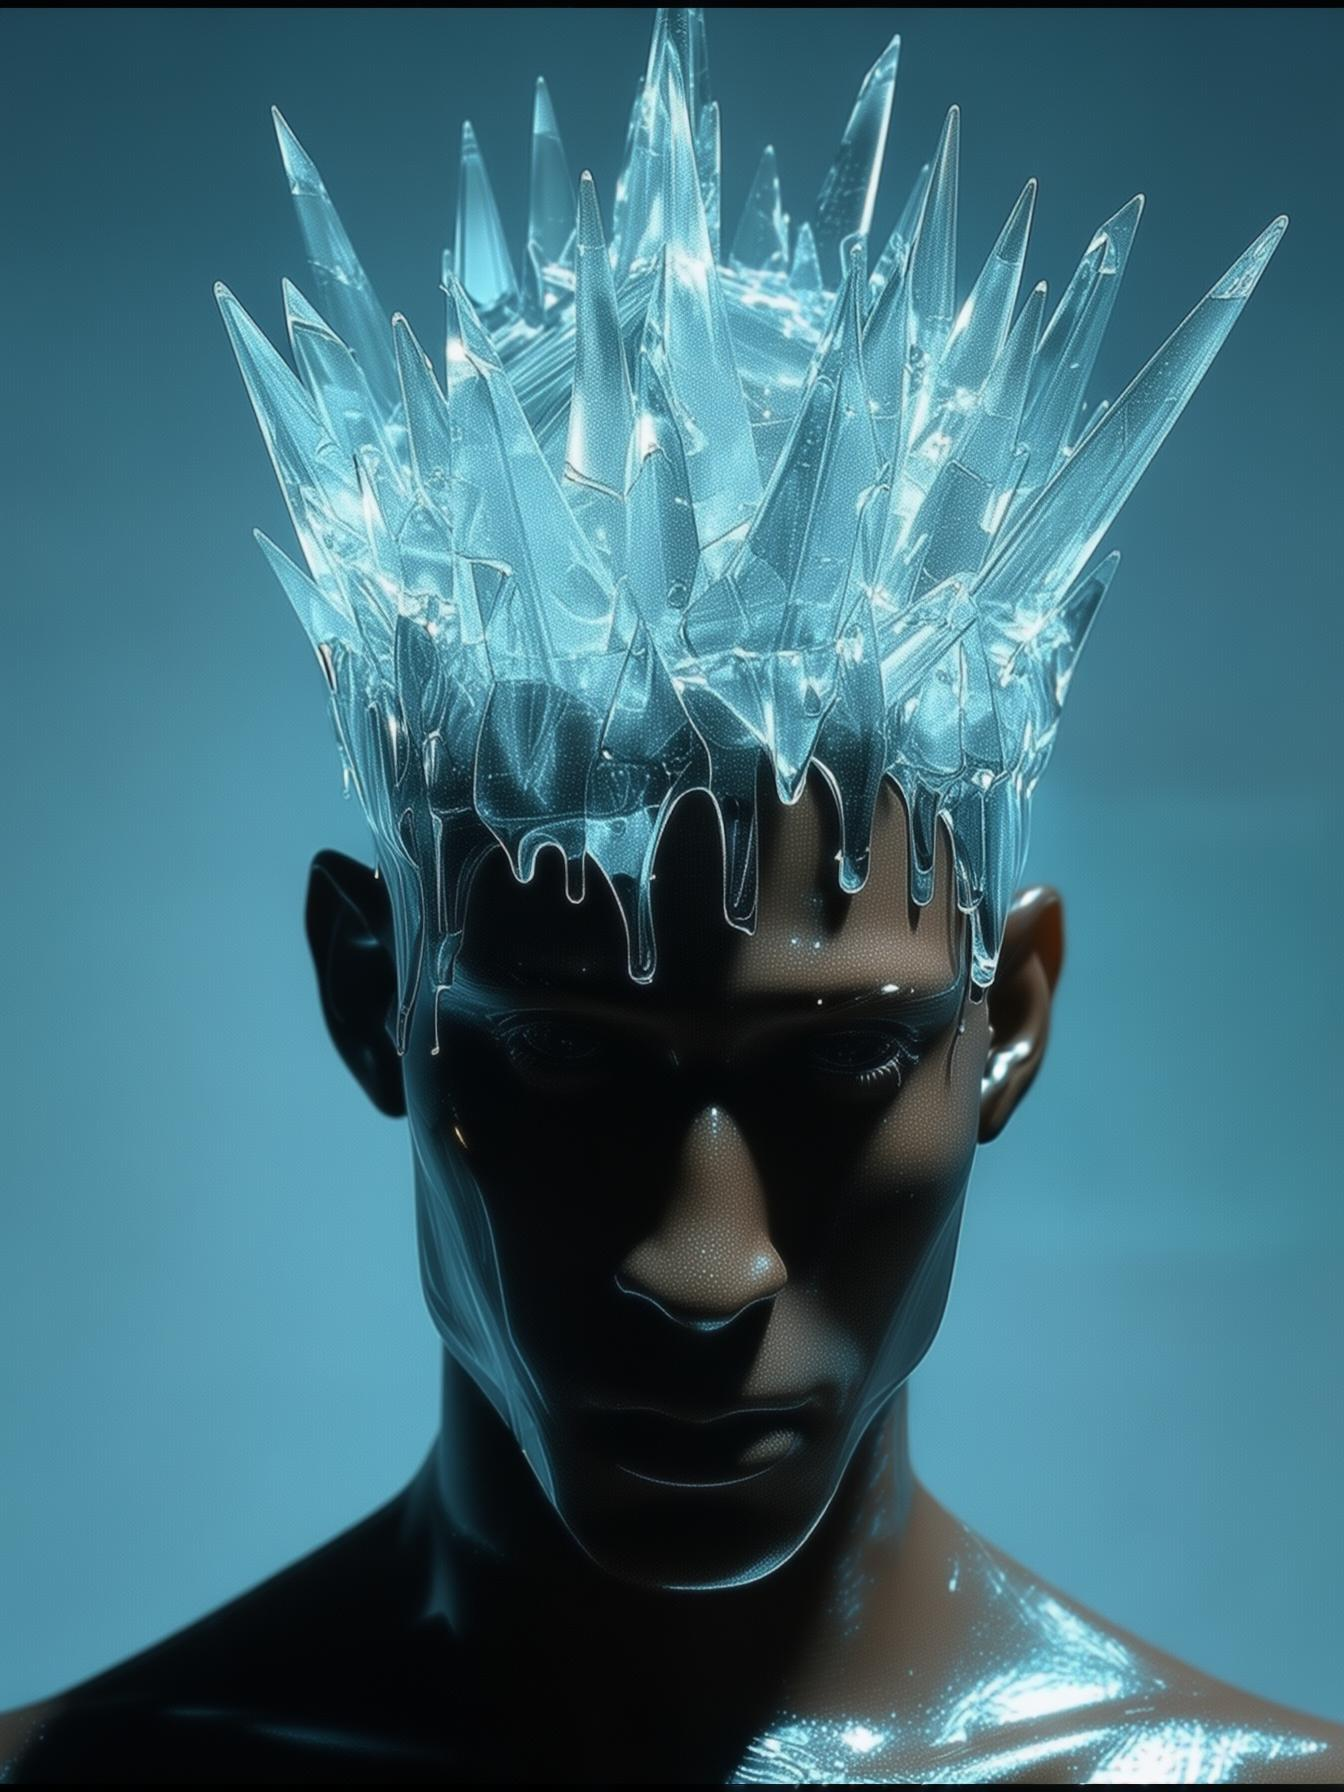
入力用に以下の画像をダウンロードしてください:
### 2. ワークフロー実行手順に従う
APIノードを使用するには、正しくログインしていることと、許可されたネットワーク環境で使用していることを確認する必要があります。APIノードの使用に必要な具体的な要件については、ドキュメントの「[APIノードの概要](/ja/tutorials/partner-nodes/overview)」セクションをご参照ください。
ComfyUI が最新版に更新されていることを確認してください。
* [ComfyUI のダウンロード](https://www.comfy.org/download)
* [更新手順](/ja/installation/update_comfyui)
このガイドで紹介するワークフローは、[ワークフローテンプレート](/ja/interface/features/template)から入手できます。
テンプレート内に該当のワークフローが見つからない場合、ComfyUI のバージョンが古くなっている可能性があります。
ワークフローを読み込んだ際にノードが欠落している場合の考えられる原因:
1. 最新の ComfyUI(Nightly 版)を使用していない
2. 起動時に一部のノードのインポートに失敗している
* [Cloud](https://cloud.comfy.org) は、ComfyUI の安定版リリース後に更新されます。
したがって、このドキュメントでコアノードが見つからない場合、それは新しいコアノードがまだ最新の安定版にリリースされていない可能性があります。次回の安定版リリースをお待ちください。
## Luma Text to Image パートナーノードのワークフロー
When the `Luma Text to Image` node is used without any image inputs, it functions as a text-to-image workflow. In this guide, we've created examples using `style_image` and `image_luma_ref` to showcase Luma AI's excellent image processing capabilities.
### 1. ワークフローファイルのダウンロード
ワークフロー情報は下の画像のメタデータに含まれています。画像をダウンロードして ComfyUI にドラッグ&ドロップすると、ワークフローが読み込まれます。

入力用に以下の画像をダウンロードしてください:


### 2. ワークフロー実行手順に従う
 画像内の番号付きステップに従って、基本ワークフローを実行します:
1. Upload the reference image in the `Load image` node
2. Upload the style reference image in the `Load image (renamed to styleref)` node
3. (Optional) Modify the prompts in the `Luma Text to Image` node
4. (Optional) Adjust the `style_image_weight` to control the style reference image's influence
5. Click the `Run` button or use the shortcut `Ctrl(cmd) + Enter` to generate the image
6. After the API returns results, view the generated image in the `Save Image` node. Images are saved to the `ComfyUI/output/` directory
### 3. 補足事項
* The node allows up to 4 reference images and character references simultaneously.
* To enable multiple image inputs, right-click on the purple "Bypassed" nodes and set their `mode` to `always`
画像内の番号付きステップに従って、基本ワークフローを実行します:
1. Upload the reference image in the `Load image` node
2. Upload the style reference image in the `Load image (renamed to styleref)` node
3. (Optional) Modify the prompts in the `Luma Text to Image` node
4. (Optional) Adjust the `style_image_weight` to control the style reference image's influence
5. Click the `Run` button or use the shortcut `Ctrl(cmd) + Enter` to generate the image
6. After the API returns results, view the generated image in the `Save Image` node. Images are saved to the `ComfyUI/output/` directory
### 3. 補足事項
* The node allows up to 4 reference images and character references simultaneously.
* To enable multiple image inputs, right-click on the purple "Bypassed" nodes and set their `mode` to `always`